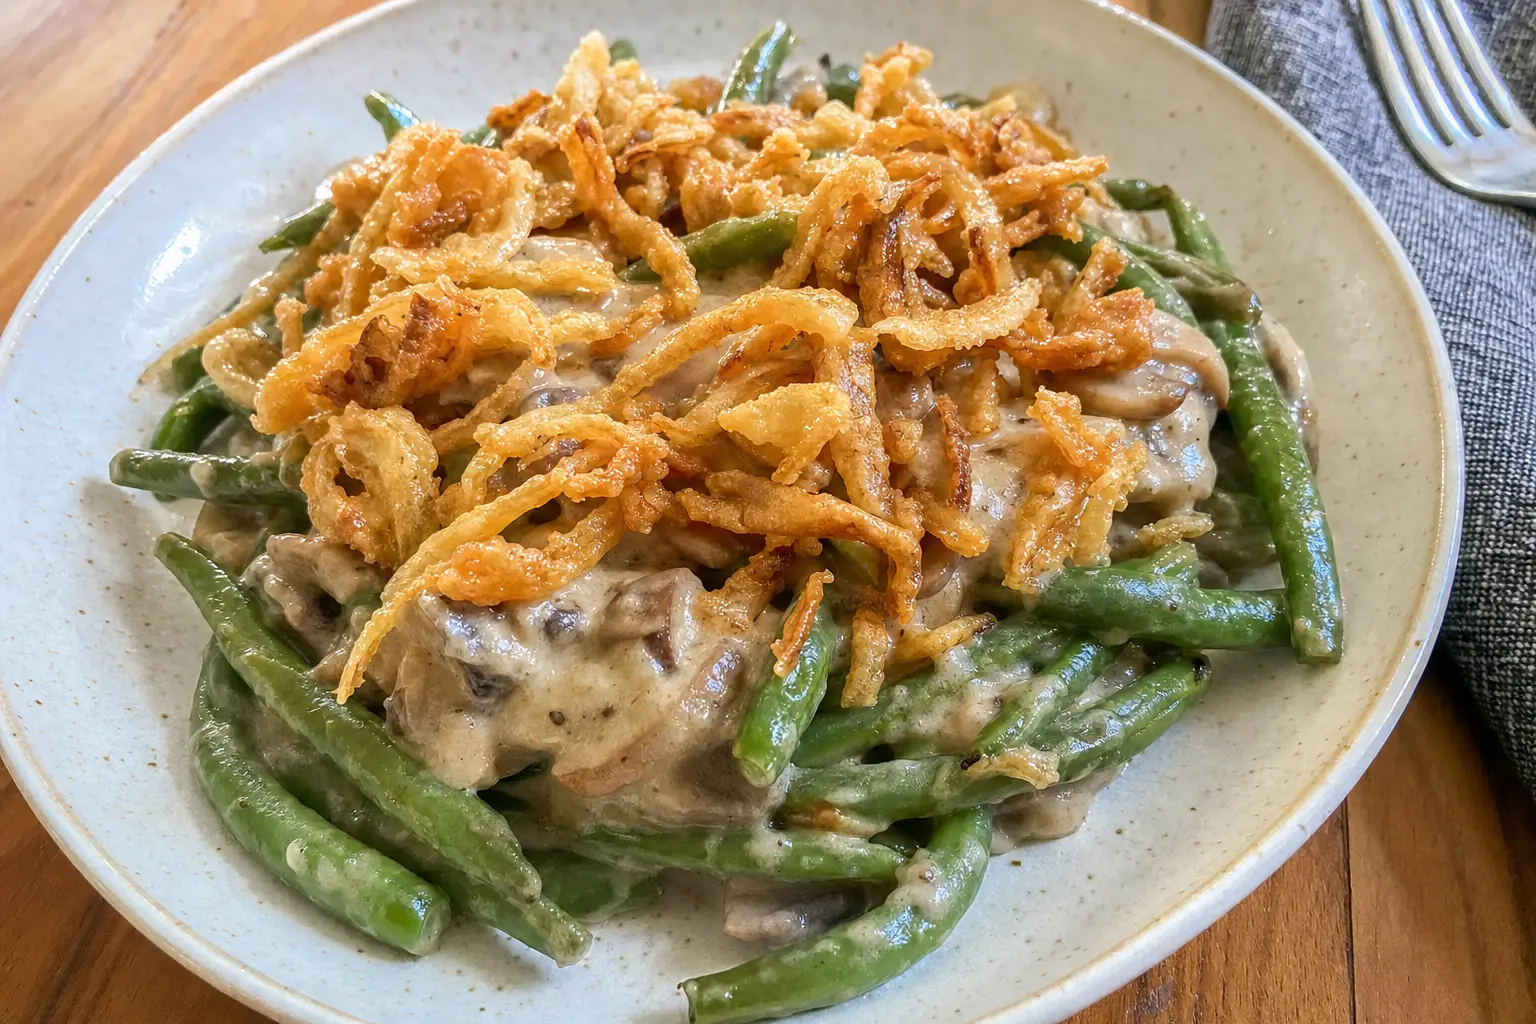
Green Bean Casserole
This classic green bean casserole has tender beans in a creamy mushroom sauce, finished with crisp fried onions. It is a reliable holiday side, but it is simple enough for a Sunday dinner, too.
Total
50 min
Servings
8 servings
Level
Easy
Green bean casserole is the kind of side dish that feels at home on a holiday table. It is creamy, savory, and topped with those crunchy fried onions everyone reaches for first.
This version uses fresh green beans and a quick mushroom sauce made in one pan. The sauce is still familiar and cozy, but it has a little more texture and flavor than a fully canned version.
If you are short on time, you can use frozen green beans or canned mushroom soup. The tips below explain how to make those swaps without ending up with a watery casserole.
01What you'll need
Ingredients
15 items · 8 servings
- 1 1/2 pounds fresh green beans, trimmed and cut into 2-inch pieces
- 1 tablespoon kosher salt, for the boiling water
- 2 tablespoons unsalted butter
- 8 ounces cremini or white mushrooms, sliced
- 1 small yellow onion, finely chopped
- 2 cloves garlic, minced
- 1 teaspoon kosher salt, plus more to taste
- 1/2 teaspoon black pepper
- 2 tablespoons all-purpose flour
- 1 cup low-sodium chicken broth or vegetable broth
- 1 cup whole milk
- 1/2 cup heavy cream
- 1 teaspoon soy sauce or Worcestershire sauce
- 1/4 teaspoon ground nutmeg, optional
- 1 1/2 cups crispy fried onions, divided
02How to make it
Step-by-step
1. Heat the oven
Preheat the oven to 375°F. Lightly grease a 2-quart baking dish or an 8-inch square baking dish. Set it aside while you prepare the beans and sauce.
2. Blanch the green beans
Bring a large pot of water to a boil and add 1 tablespoon kosher salt. Add the green beans and cook for 3 to 4 minutes, until bright green and just tender. Blanching means briefly boiling vegetables so they soften a little but keep their color.
3. Cool and drain the beans
Drain the green beans, then rinse them under cold water or place them in a bowl of ice water for 1 minute. Drain very well. This stops the cooking so the beans do not turn mushy in the oven.
4. Cook the mushrooms
Melt the butter in a large skillet over medium heat. Add the mushrooms and onion. Cook for 6 to 8 minutes, stirring often, until the mushrooms release their liquid and begin to brown. Add the garlic, 1 teaspoon salt, and the pepper, then cook for 1 minute more.
5. Make the creamy sauce
Sprinkle the flour over the mushroom mixture and stir for 1 minute. Slowly pour in the broth while stirring, then add the milk, cream, soy sauce or Worcestershire sauce, and nutmeg if using. Simmer for 3 to 5 minutes, until the sauce lightly thickens and coats the back of a spoon.
6. Combine the casserole
Add the drained green beans and 1/2 cup of the crispy fried onions to the skillet. Stir gently until the beans are coated in sauce. Taste and add a little more salt or pepper if needed.
7. Bake until bubbling
Transfer the mixture to the prepared baking dish. Bake uncovered for 20 minutes, until the sauce is bubbling around the edges.
8. Add the onion topping
Sprinkle the remaining 1 cup crispy fried onions over the top. Return the casserole to the oven for 5 to 8 minutes, until the onions are golden and crisp. Watch closely because they can brown quickly.
9. Rest and serve
Let the casserole rest for 5 to 10 minutes before serving. This short rest helps the sauce settle so it scoops neatly.
03From our kitchen
Cook's tips
- Make-ahead: Blanch the beans and make the mushroom sauce up to 2 days ahead. Store them separately in airtight containers in the refrigerator. Combine, bake, and add the fried onions just before serving.
- To assemble ahead: You can mix the beans and sauce in the baking dish up to 1 day ahead. Cover and refrigerate. Add 5 to 10 extra minutes to the first bake time, then top with fried onions and finish baking.
- Storage: Refrigerate leftovers in an airtight container for up to 4 days. Reheat in a 350°F oven until warm. The topping will soften in the fridge, so add a small handful of fresh fried onions before reheating if you want crunch.
- Frozen green bean swap: Use 1 1/2 pounds frozen cut green beans. Thaw and pat dry. You do not need to blanch them, but draining them well helps prevent a thin sauce.
- Canned green bean swap: Use three 14.5-ounce cans green beans, drained well. Skip the blanching step. The casserole will be softer, but still tasty and very quick.
- Soup shortcut: Replace the homemade sauce with two 10.5-ounce cans condensed cream of mushroom soup mixed with 1/2 cup milk and 1/2 teaspoon black pepper. Fold in the beans and bake as directed with the fried onions on top near the end.
Cook's note
If your sauce looks a little thick before baking, that is okay. The green beans release a bit of moisture in the oven, and the casserole should bake up creamy rather than loose.
04Frequently asked
Questions & answers
Can I use fresh green beans without blanching them first?
It is better to blanch them. Fresh green beans take longer to soften than the sauce takes to bake. Blanching gives you beans that are tender but not mushy.
Why is my green bean casserole watery?
The beans may not have been drained well, or the mushrooms may not have cooked long enough to release their liquid. Drain beans thoroughly, cook mushrooms until their moisture evaporates, and simmer the sauce until it lightly thickens.
Can I make green bean casserole vegetarian?
Yes. Use vegetable broth and choose soy sauce instead of Worcestershire sauce, since some Worcestershire sauces contain anchovies.
Can I double this recipe?
Yes. Double all ingredients and bake in a 9-by-13-inch dish. The first bake may take 25 to 30 minutes before you add the onion topping.
How do I keep the fried onions from burning?
Add most of the fried onions near the end of baking, not at the beginning. They only need a few minutes in the oven to turn crisp and golden.
05Keep cooking
You might also like
 Salads & sides
Classic Yellow Squash Casserole
Tender yellow squash, sweet onion, cheddar, and a buttery cracker topping bake into a cozy side dish that belongs at Sunday dinner, potlucks, and holiday tables. The key is draining the squash well so the casserole turns
 Salads & sides
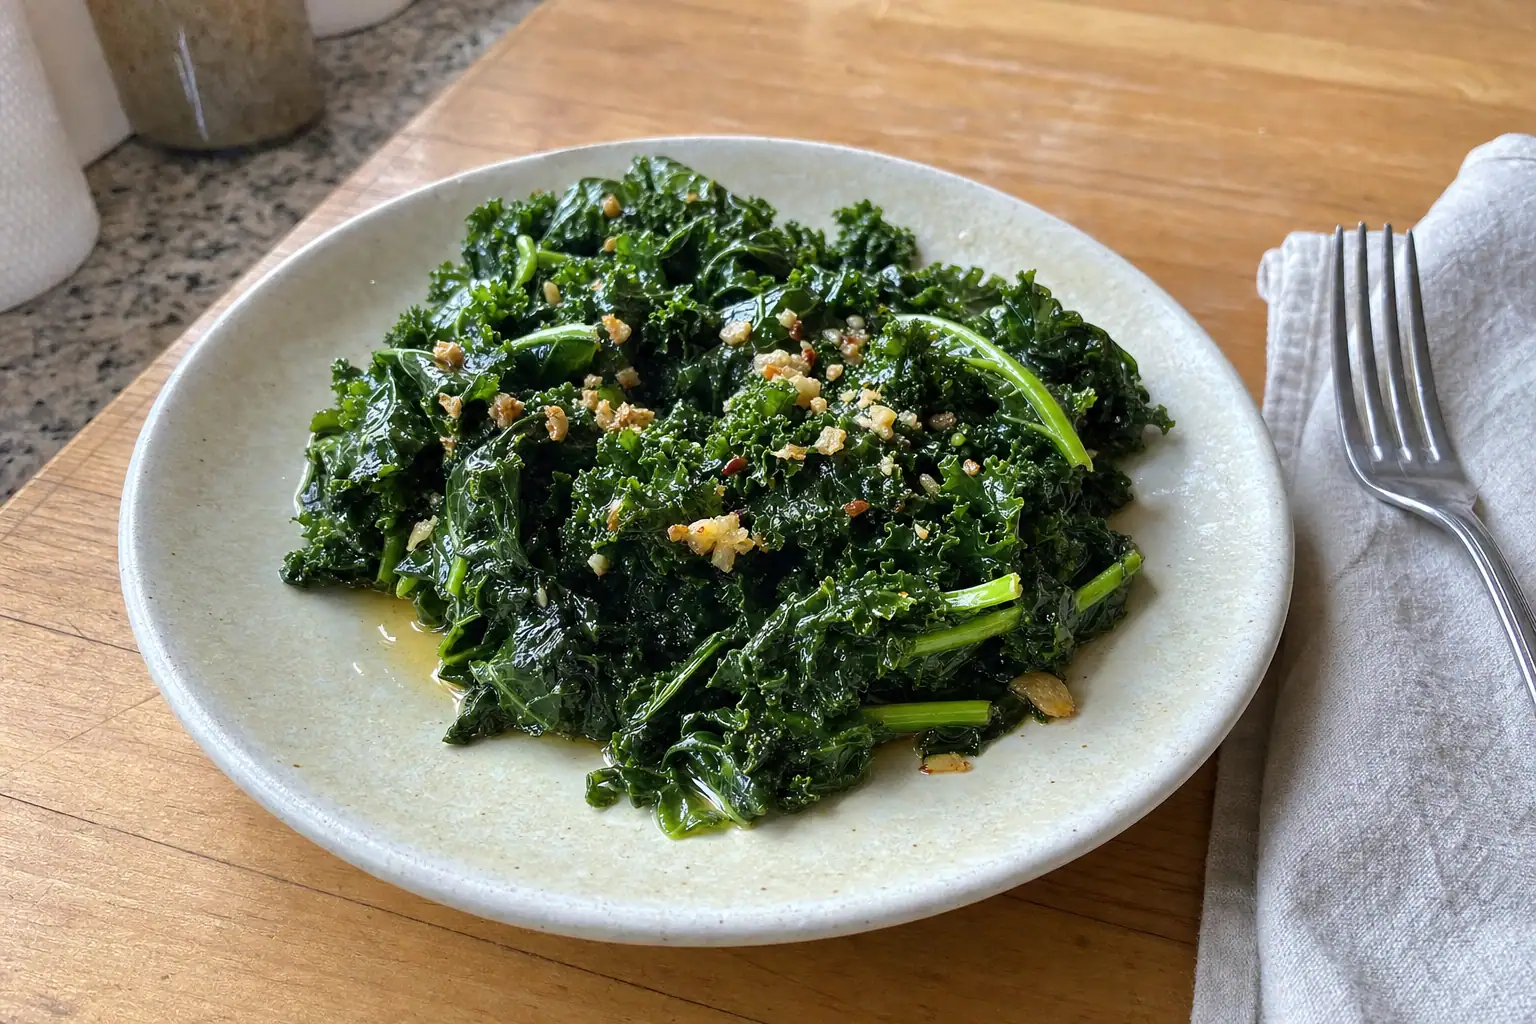
Garlic Kale
This simple garlic kale is tender, bright, and ready in about 20 minutes. It is a useful side dish for weeknights, grain bowls, eggs, pasta, or roasted chicken.
 Salads & sides
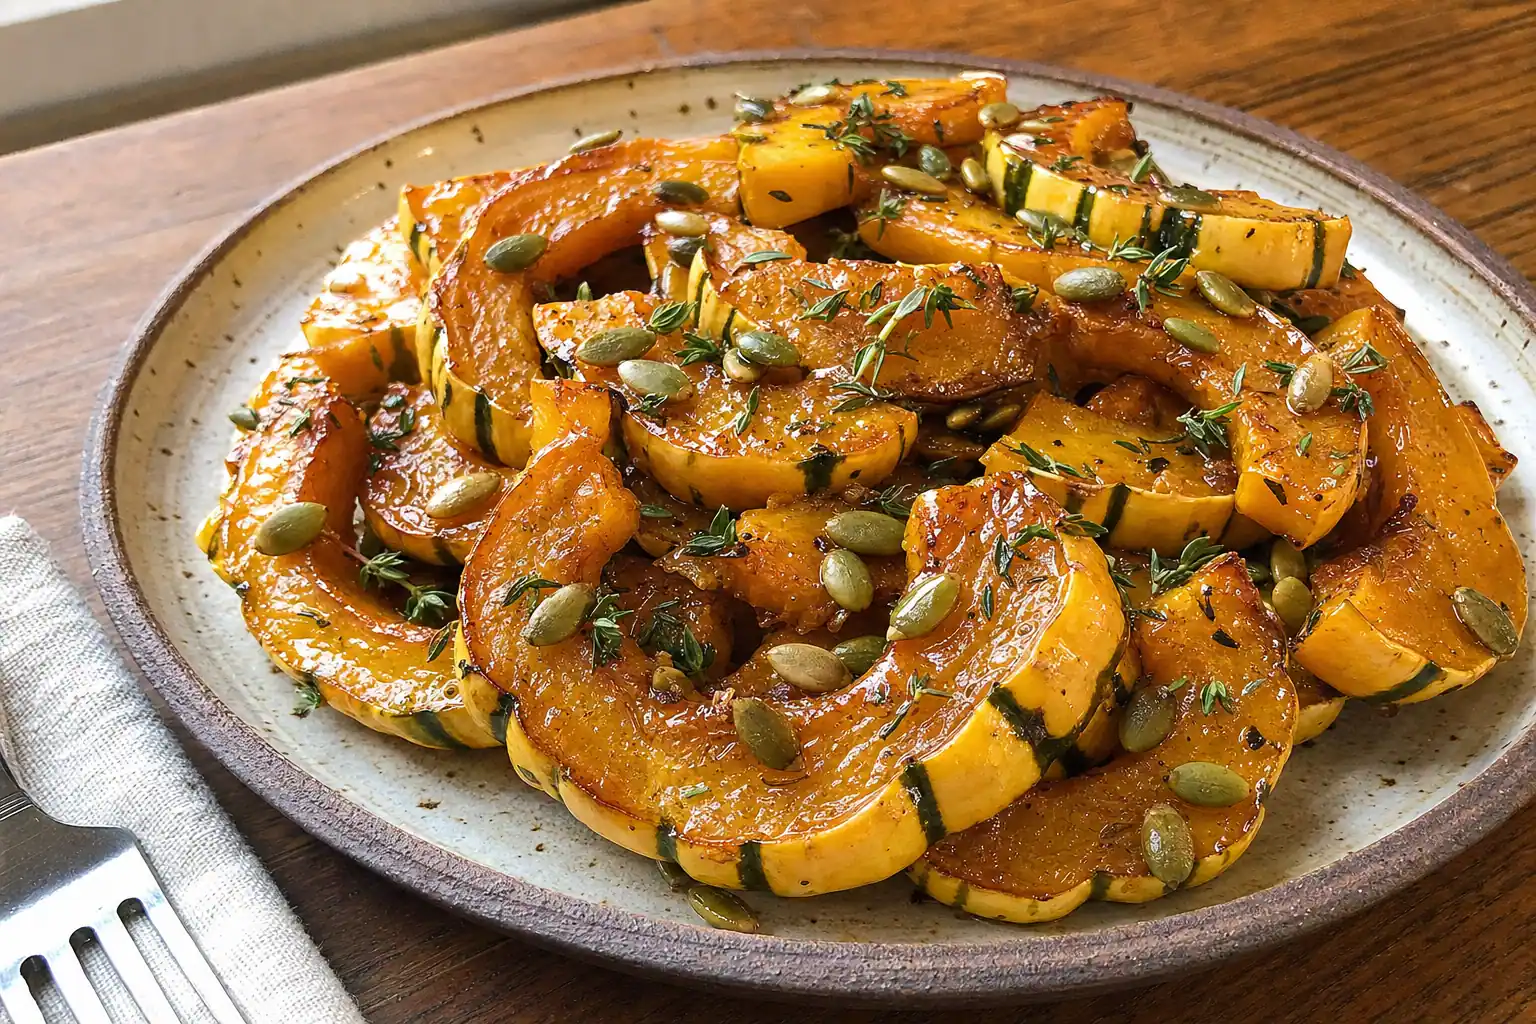
Roasted Delicata Squash with Maple, Thyme, and Pepitas
Delicata squash is the weeknight-friendly winter squash: sweet, quick to roast, and tender enough to eat with the skin on. This simple side dish adds maple, thyme, and crunchy pepitas for a colorful fall or holiday plate
 Salads & sides
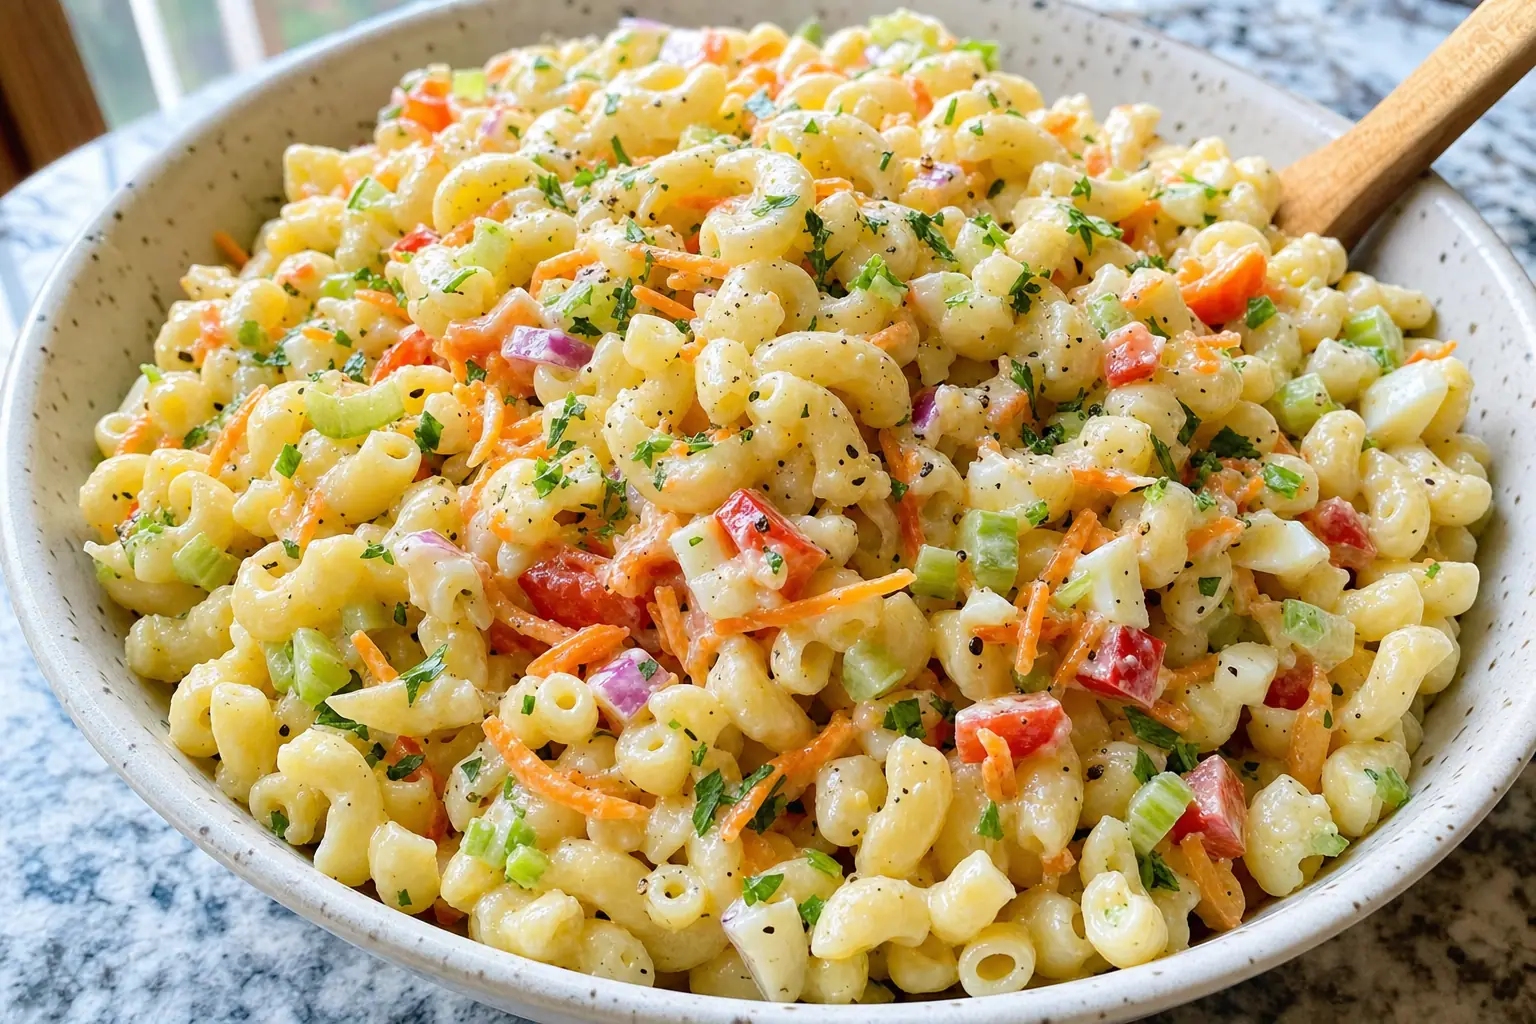
Classic Macaroni Salad
Creamy, tangy, and full of crunch, this macaroni salad is the kind of side dish that fits right in at picnics, cookouts, and easy lunches. A quick rinse after cooking keeps the pasta firm and ready for its simple, mayo-m