
Pickled Ginger
Make crisp, tangy pickled ginger at home with fresh ginger, rice vinegar, sugar, and salt. It is a bright little side for sushi, rice bowls, noodles, and grilled fish.
Total
25 min
Servings
Makes about 1 1/2 cups
Level
Easy
Pickled ginger, called gari in Japanese cooking, is the pale pink or light yellow ginger often served with sushi. It is sweet, sharp, and refreshing, with a gentle heat that clears the palate between bites.
Homemade pickled ginger is simple to make as a refrigerator pickle. That means it is stored in the fridge, not canned for the pantry. The key is slicing the ginger very thin so it softens quickly in the hot vinegar brine.
Young ginger is traditional because it is tender and may turn naturally pink when pickled. Mature ginger works too, but it will be a little more fibrous and usually stays pale golden.
01What you'll need
Ingredients
6 items · Makes about 1 1/2 cups
- 8 ounces fresh young ginger, or the freshest mature ginger you can find
- 1 1/2 teaspoons fine sea salt, divided
- 3/4 cup unseasoned rice vinegar
- 1/2 cup water
- 1/3 cup granulated sugar
- Optional: 1 small slice raw beet, for a pink tint if using mature ginger
02How to make it
Step-by-step
1. Clean the jar
Wash a 1-pint jar and lid in hot, soapy water, then rinse well. For extra care, fill the jar with boiling water and let it stand for 5 minutes. Pour out the water and let the jar air-dry while you prepare the ginger.
2. Peel the ginger
Use the edge of a small spoon to scrape off the thin skin. A spoon follows the bumps better than a peeler and removes less ginger. Trim away any dry ends or tough spots.
3. Slice it very thin
Slice the ginger across the grain as thinly as you can. A mandoline makes even slices, but use the hand guard and go slowly. You can also use a sharp knife. Thin slices will pickle faster and feel more delicate.
4. Salt the slices
Place the ginger in a bowl and toss with 1 teaspoon of the salt. Let it sit for 10 minutes. The salt draws out a little moisture and helps tame the raw bite.
5. Blanch the ginger
Bring a small saucepan of water to a boil. Add the salted ginger and boil for 1 minute for young ginger, or 2 minutes for mature ginger. Blanching means briefly cooking in boiling water. Drain well, then pack the ginger into the clean jar.
6. Make the brine
In the same saucepan, combine the rice vinegar, 1/2 cup water, sugar, and remaining 1/2 teaspoon salt. Bring to a simmer over medium heat, stirring until the sugar dissolves. Remove from the heat.
7. Pour and cover
Carefully pour the hot brine over the ginger until the slices are fully covered. Press the ginger down with a clean spoon to release air bubbles. Add the optional beet slice now if you want a pink color, then cover with the lid.
8. Cool and chill
Let the jar cool at room temperature for about 30 minutes, then refrigerate. The ginger is ready to taste after 4 hours, but it is better after 24 hours. Remove the beet slice after a few hours if the color is strong enough.
03From our kitchen
Cook's tips
- Make-ahead: Pickled ginger is a good make-ahead condiment. For the cleanest flavor and texture, make it 1 to 3 days before serving.
- Storage: Keep the ginger covered in brine in a sealed jar in the refrigerator. Use clean utensils each time. It keeps well for about 3 weeks.
- Do not store at room temperature: This is a refrigerator pickle, not a shelf-stable canned recipe.
- Ginger swap: Young ginger is tender and may turn pink on its own. Mature ginger is stronger and more fibrous, so slice it as thinly as possible and blanch it for the full 2 minutes.
- Vinegar swap: Rice vinegar gives the mildest flavor. Apple cider vinegar can work, but it tastes fruitier and sharper. Avoid distilled white vinegar unless you like a very sharp pickle.
- Sugar adjustment: For less sweetness, reduce the sugar to 1/4 cup. The pickle will taste sharper but still work. Do not remove the salt, which helps balance the ginger and brine.
Cook's note
The natural pink color in pickled ginger comes from very fresh young ginger, especially the pink tips near the stem. Many store-bought versions use coloring, so do not worry if your homemade batch is pale yellow. The flavor is what matters.
04Frequently asked
Questions & answers
Can I make pickled ginger without a mandoline?
Yes. Use a sharp knife and take your time. The slices do not need to be perfect, but thinner slices pickle faster and are easier to eat.
Why did my pickled ginger not turn pink?
It likely means you used mature ginger or ginger without pink tips. That is normal. Add a very small slice of raw beet to the jar for a few hours if you want a pink tint.
How long before pickled ginger is ready to eat?
You can taste it after 4 hours, but the flavor is smoother after 24 hours in the fridge. It continues to mellow over the next few days.
Can I reuse the pickling brine?
It is better not to reuse the brine for a new batch because it becomes diluted and may pick up bits of ginger. You can spoon a little used brine into salad dressings, noodle sauces, or marinades.
What should I serve with pickled ginger besides sushi?
Serve it with rice bowls, fried rice, noodle salads, grilled fish, tofu, dumplings, or roasted vegetables. A few slices add brightness to rich or salty dishes.
05Keep cooking
You might also like
 Salads & sides
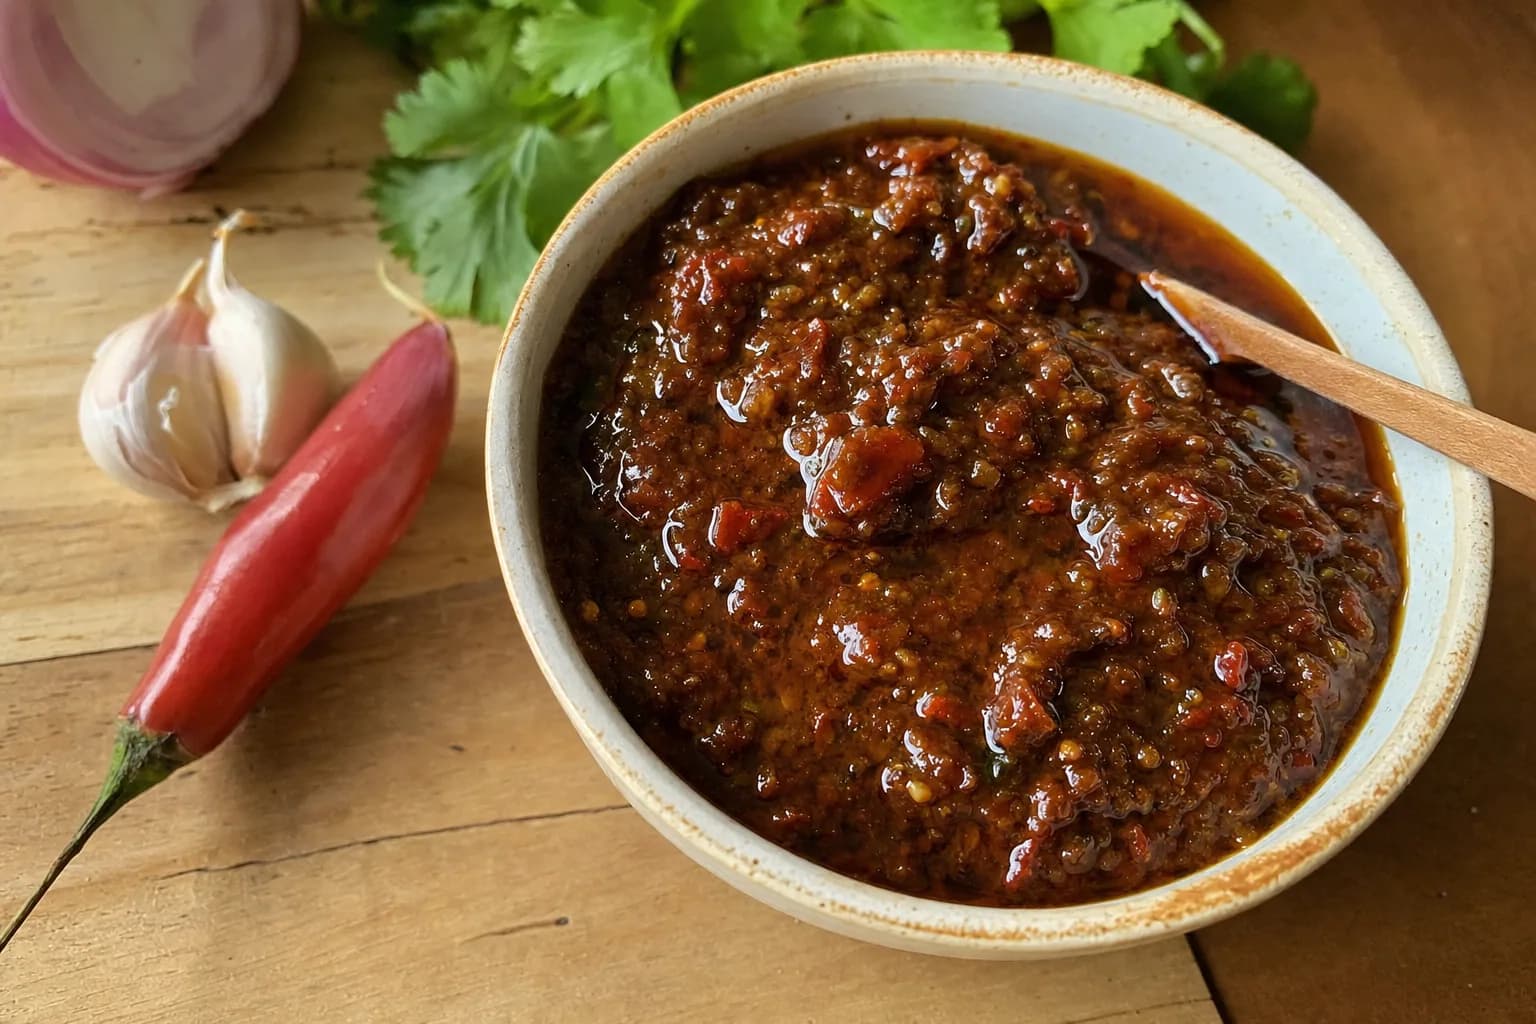
Eel Sauce
This glossy Japanese-style eel sauce is sweet, salty, and simple to make at home. Spoon it over sushi bowls, grilled fish, rice, tofu, or vegetables.
 Salads & sides
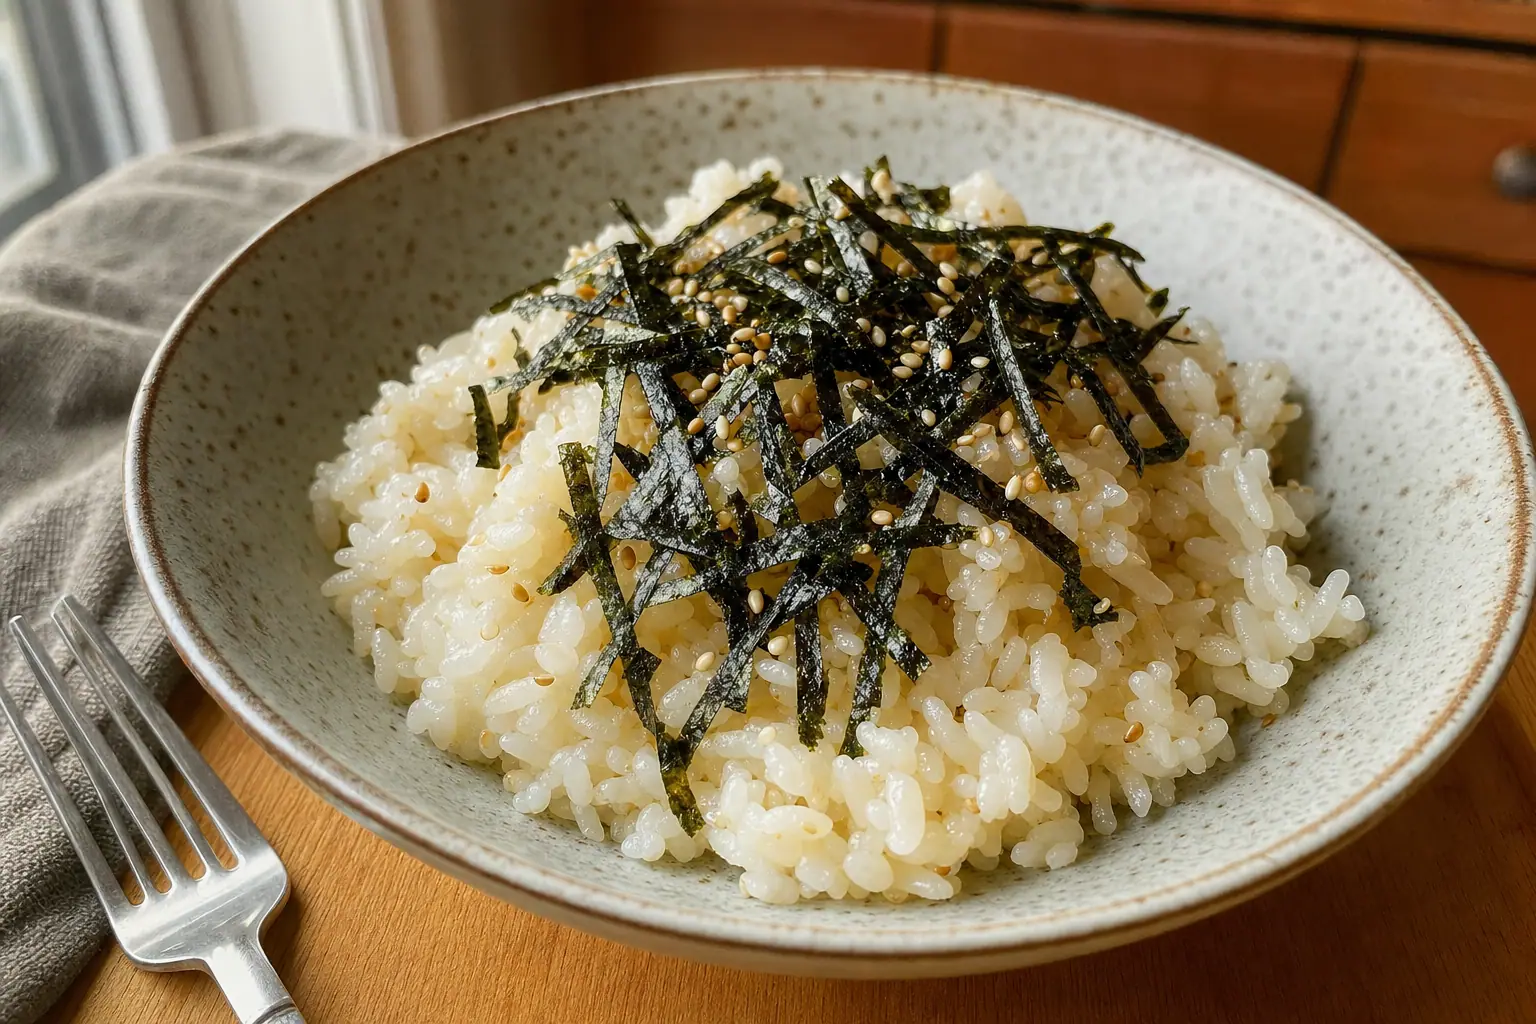
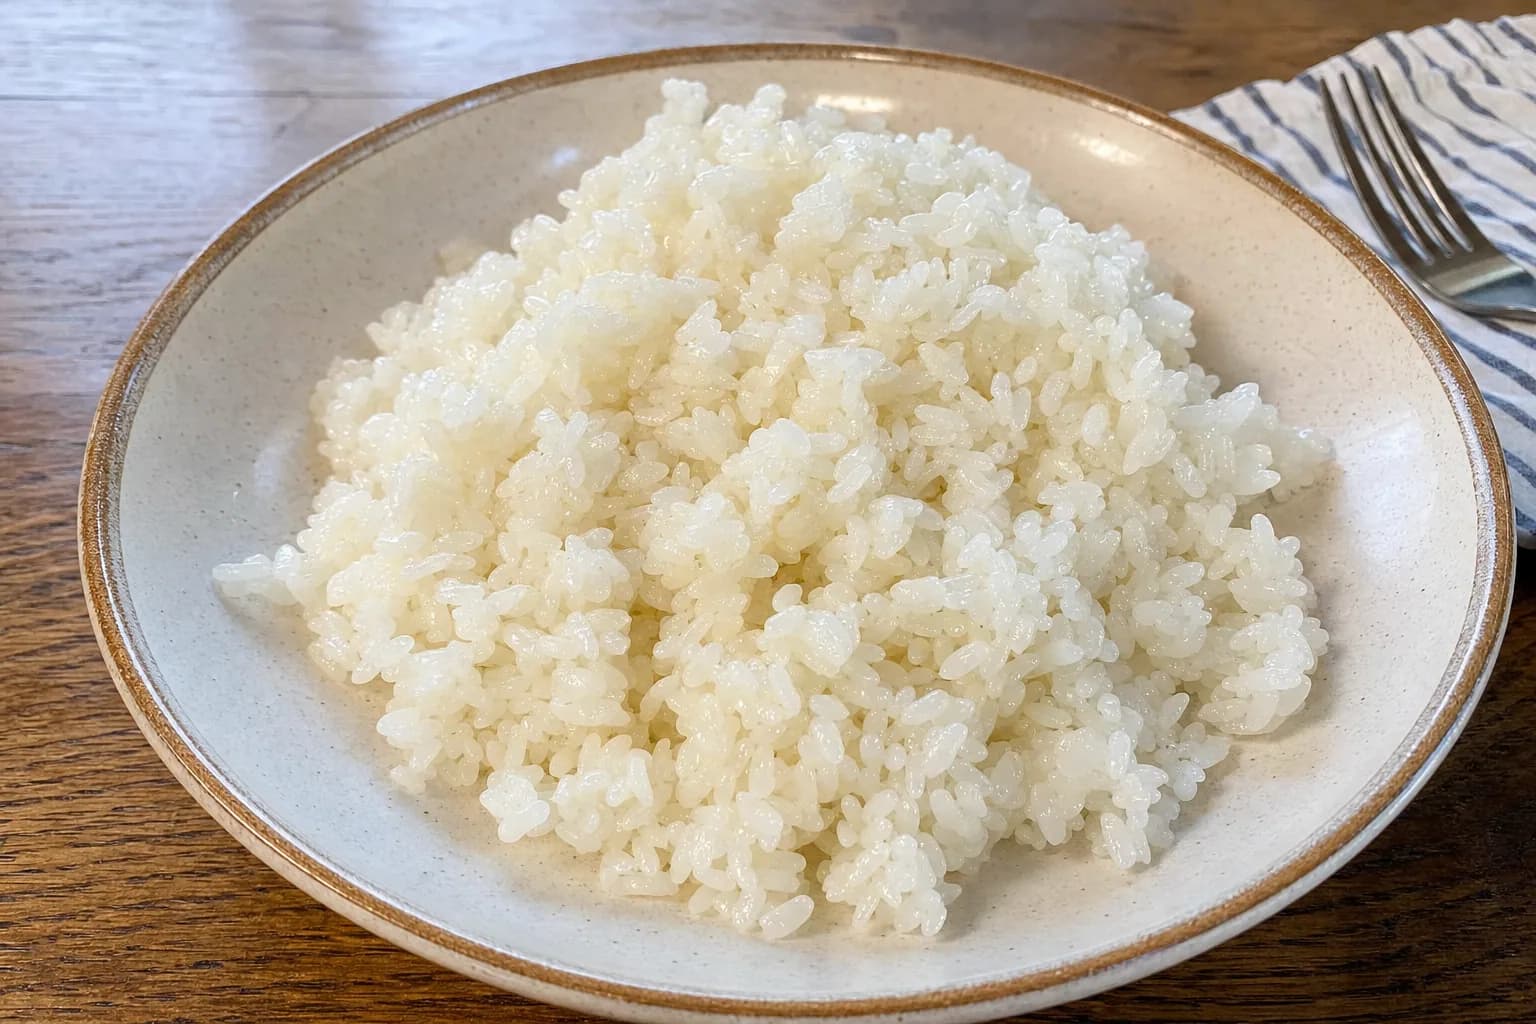
Sushi Rice
Glossy, gently seasoned sushi rice is the base for homemade rolls, hand rolls, rice bowls, and onigiri. The key is rinsing the rice well, cooking it evenly, then folding in the vinegar seasoning while the rice is still a
 Salads & sides
Sushi Rice
Good sushi starts with properly seasoned rice. This simple method gives you glossy, lightly sticky grains with a gentle sweet-tangy flavor for rolls, bowls, and hand-shaped sushi.
 Salads & sides
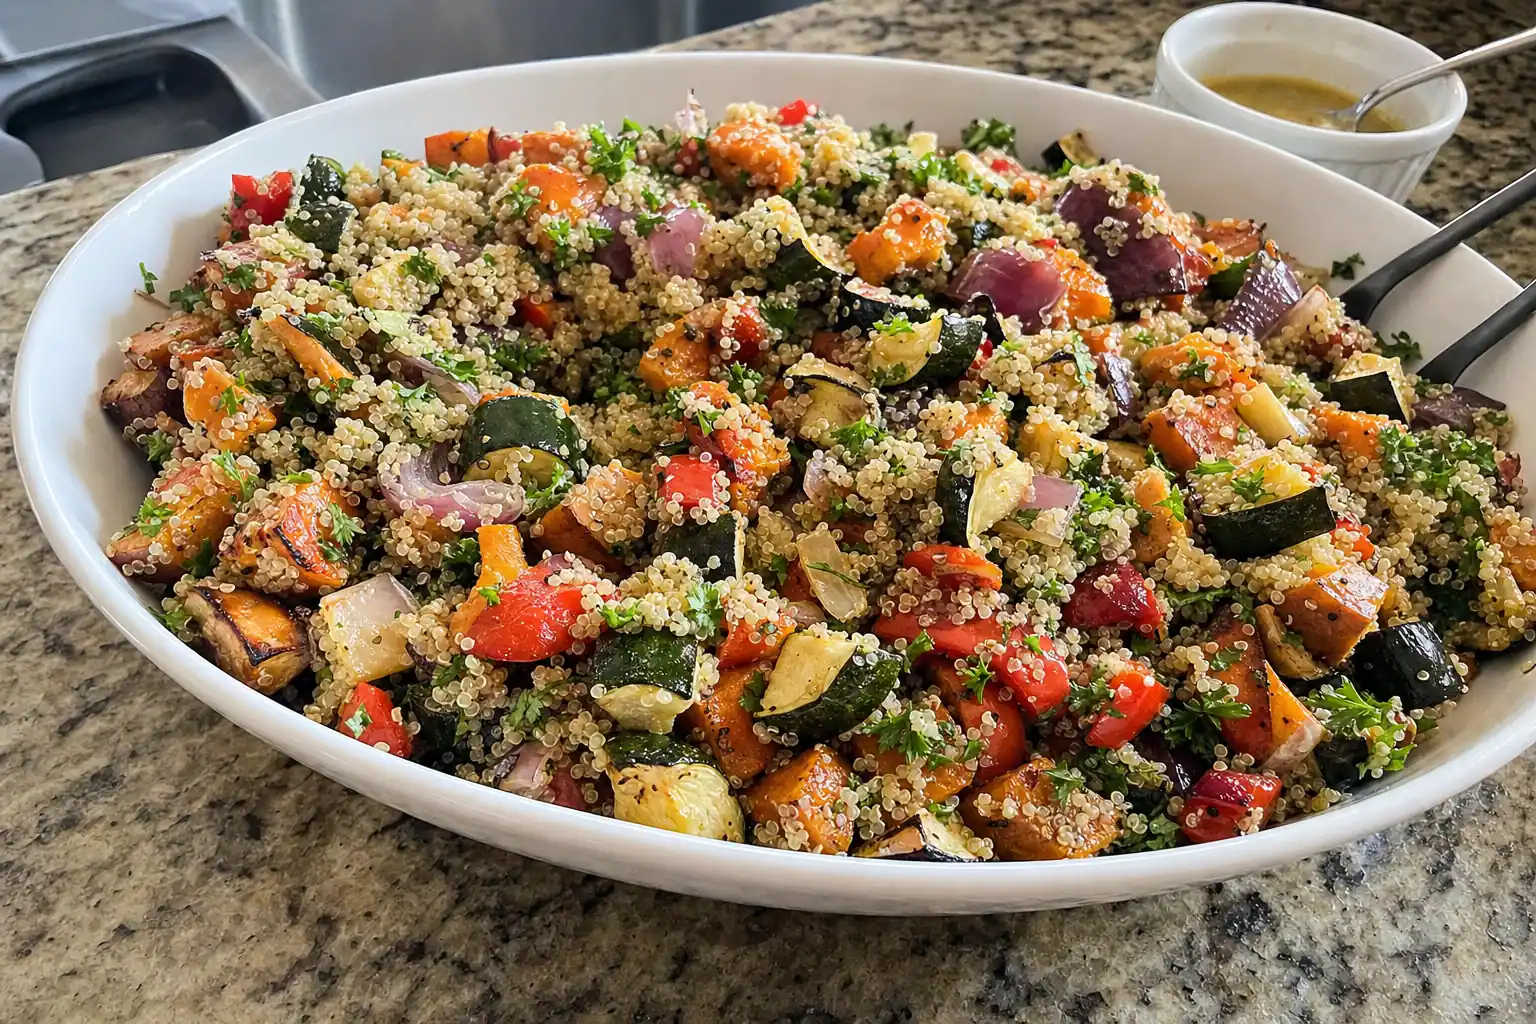
Quinoa and Roasted Vegetable Salad
A hearty and healthy salad that’s perfect for lunch or a light dinner.