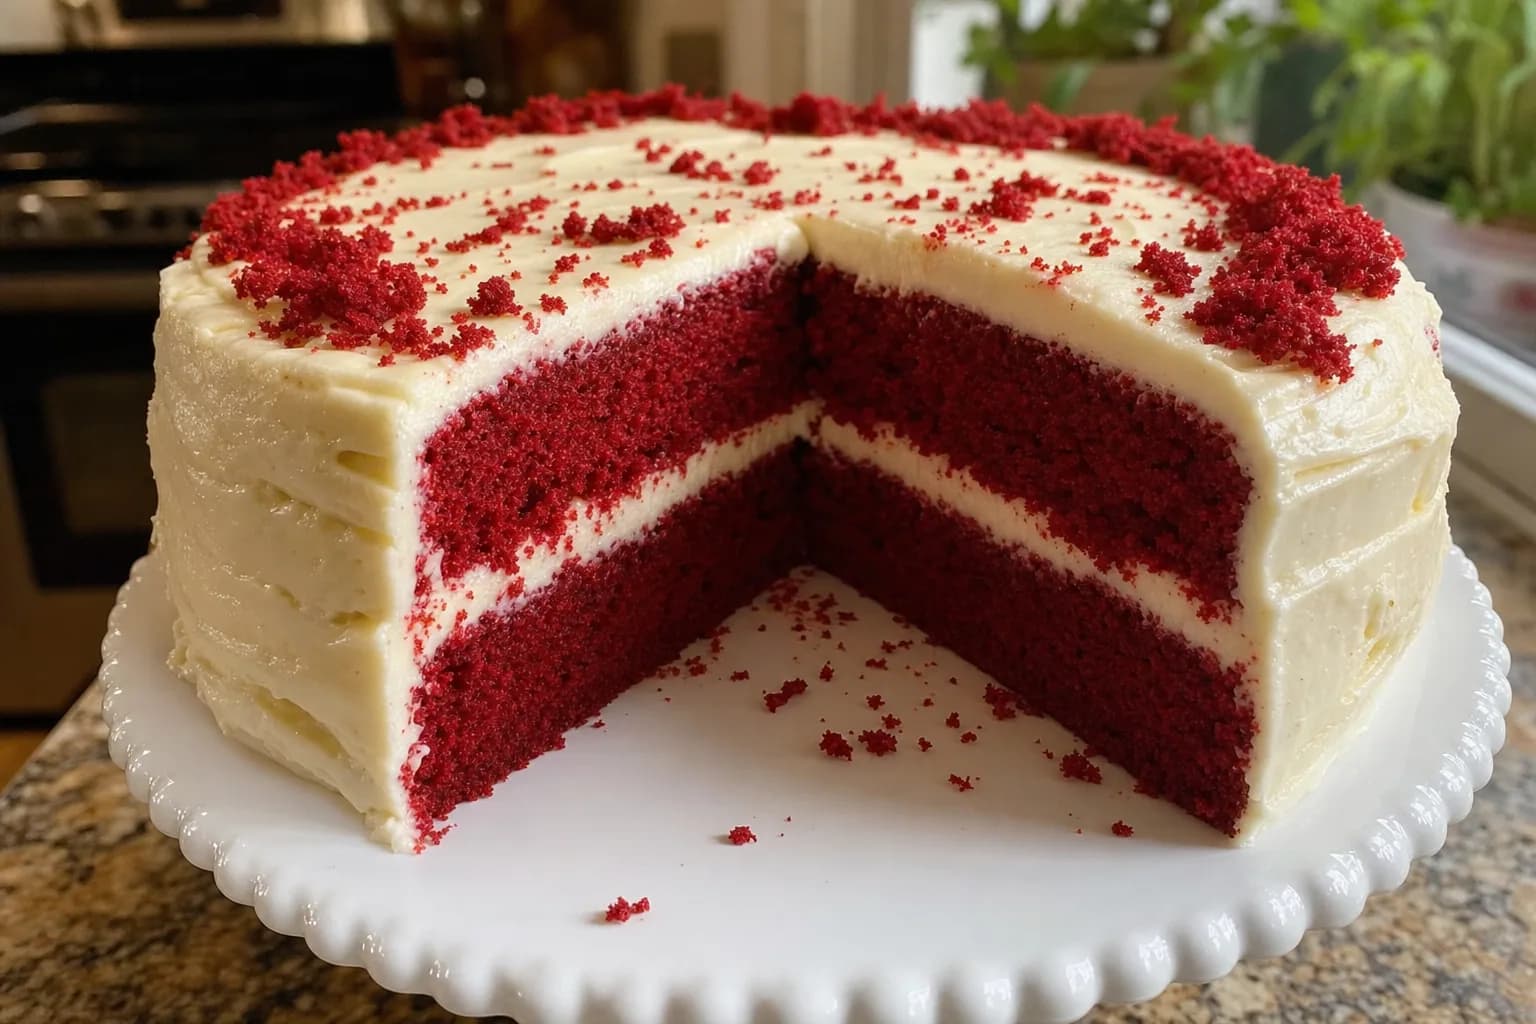
Red Velvet Cake
This classic red velvet cake is soft, lightly cocoa-flavored, and finished with tangy cream cheese frosting. It is a celebration cake, but the method is friendly enough for a careful weekend baker.
Total
65 min
Servings
12 servings
Level
Medium
Red velvet cake sits somewhere between vanilla cake and chocolate cake. It has a gentle cocoa flavor, a soft crumb, and a little tang from buttermilk and cream cheese frosting.
The red color usually comes from food coloring today. Older versions relied more on natural reactions between cocoa, acid, and baking soda, but modern cocoa does not give the same bright color on its own.
This recipe makes two 9-inch layers. Give the cakes time to cool fully before frosting so the cream cheese frosting stays smooth and does not slide.
01What you'll need
Ingredients
18 items · 12 servings
- For the cake:
- 2 1/2 cups (315 g) all-purpose flour
- 2 tablespoons unsweetened cocoa powder
- 1 teaspoon baking soda
- 1 teaspoon fine salt
- 1 1/2 cups (300 g) granulated sugar
- 1 cup (240 ml) neutral oil, such as canola or vegetable oil
- 2 large eggs, at room temperature
- 1 cup (240 ml) buttermilk, at room temperature
- 1 tablespoon red gel food coloring, or 1 to 2 tablespoons liquid red food coloring
- 2 teaspoons vanilla extract
- 1 teaspoon white vinegar or apple cider vinegar
- For the cream cheese frosting:
- 8 ounces (225 g) cream cheese, softened
- 1/2 cup (113 g) unsalted butter, softened
- 3 1/2 to 4 cups (420 to 480 g) powdered sugar, sifted if lumpy
- 1 teaspoon vanilla extract
- Pinch of fine salt
02How to make it
Step-by-step
1. Prepare the pans
Heat the oven to 350°F (175°C). Grease two 9-inch round cake pans, line the bottoms with parchment paper, then lightly grease the parchment. This helps the cake release cleanly after baking.
2. Mix the dry ingredients
In a medium bowl, whisk together the flour, cocoa powder, baking soda, and salt. Whisking breaks up small lumps and spreads the baking soda evenly through the flour.
3. Combine the wet ingredients
In a large bowl, whisk the sugar and oil until smooth. Add the eggs one at a time, whisking well after each. Whisk in the buttermilk, red food coloring, vanilla, and vinegar until the mixture is even in color.
4. Make the batter
Add the dry ingredients to the wet ingredients in two additions. Stir with a spatula just until no dry streaks remain. Do not overmix; too much stirring can make the cake tough.
5. Bake the layers
Divide the batter evenly between the pans and smooth the tops. Bake for 28 to 32 minutes, until the cakes spring back lightly in the center and a toothpick inserted into the middle comes out with a few moist crumbs.
6. Cool the cakes
Let the cakes cool in the pans for 10 to 15 minutes. Run a thin knife around the edges, turn the cakes out onto a rack, peel off the parchment, and cool completely before frosting.
7. Beat the frosting
In a large bowl, beat the softened cream cheese and butter until smooth and creamy. Add 3 1/2 cups powdered sugar, the vanilla, and salt. Beat on low at first, then on medium until fluffy. Add more powdered sugar if you want a thicker frosting.
8. Fill and frost
Place one cooled cake layer on a plate or cake stand. Spread a thick layer of frosting on top. Add the second cake layer, then frost the top and sides. For neater slices, chill the cake for 30 minutes before cutting.
03From our kitchen
Cook's tips
- Make-ahead: Bake the cake layers up to 1 day ahead. Wrap them tightly once cool and keep them at room temperature, or refrigerate for up to 2 days.
- Storage: Because of the cream cheese frosting, store the finished cake covered in the refrigerator for up to 4 days. Let slices sit at room temperature for 20 to 30 minutes before serving for the softest texture.
- Freezing: Unfrosted cake layers freeze well for up to 2 months. Wrap each layer in plastic wrap and foil. Thaw overnight in the refrigerator before frosting.
- Buttermilk swap: If you do not have buttermilk, stir 1 tablespoon lemon juice or vinegar into 1 cup milk. Let it stand for 5 to 10 minutes before using.
- Coloring swap: Gel food coloring gives a stronger red color with less liquid. Liquid coloring works too, but the color may be softer.
- Cocoa note: Use natural unsweetened cocoa powder if you can. Dutch-process cocoa has a smoother flavor but may make the cake darker and less traditionally red velvet in taste and color.
Cook's note
For the cleanest frosted cake, make sure the cake layers are fully cool and the cream cheese and butter are softened but not melty. If the frosting feels loose, chill it for 15 minutes, then beat again before spreading.
04Frequently asked
Questions & answers
What does red velvet cake taste like?
Red velvet cake has a mild cocoa flavor, a little tang from buttermilk and vinegar, and a soft, moist crumb. It is not meant to taste as chocolatey as a full chocolate cake.
Can I make this without red food coloring?
Yes. The cake will taste the same, but it will look more reddish-brown or light cocoa-colored instead of bright red.
Why did my cake turn out dry?
Dry red velvet cake is often caused by too much flour or overbaking. Spoon flour into the measuring cup and level it off, or weigh it if you can. Start checking the cake near the lower end of the bake time.
Can I make cupcakes with this batter?
Yes. Line a muffin tin with paper liners and fill each about two-thirds full. Bake at 350°F (175°C) for about 18 to 22 minutes, or until a toothpick comes out with a few moist crumbs.
Can I use butter instead of oil in the cake?
Oil gives red velvet cake its soft, moist texture. Melted butter can be used, but the cake may be a little firmer, especially after refrigeration.
05Keep cooking
You might also like
 Desserts
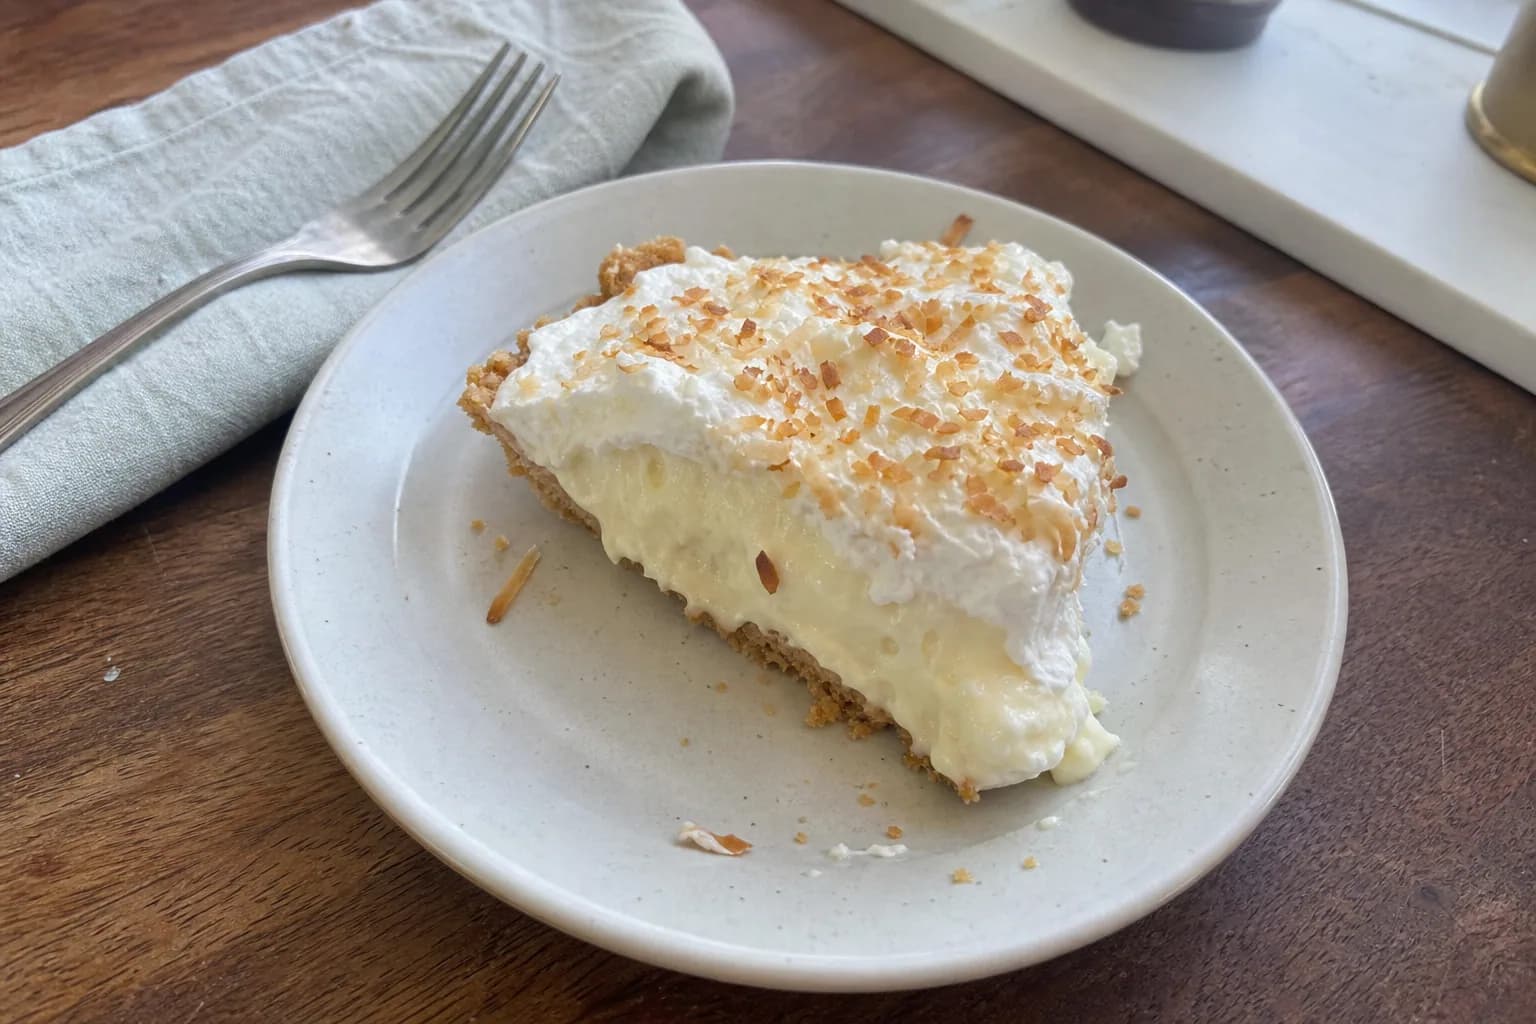
Coconut Cream Pie
This coconut cream pie has a flaky baked crust, a silky coconut custard filling, and a cloud of whipped cream on top. Toasted coconut adds the final nutty crunch.
 Desserts
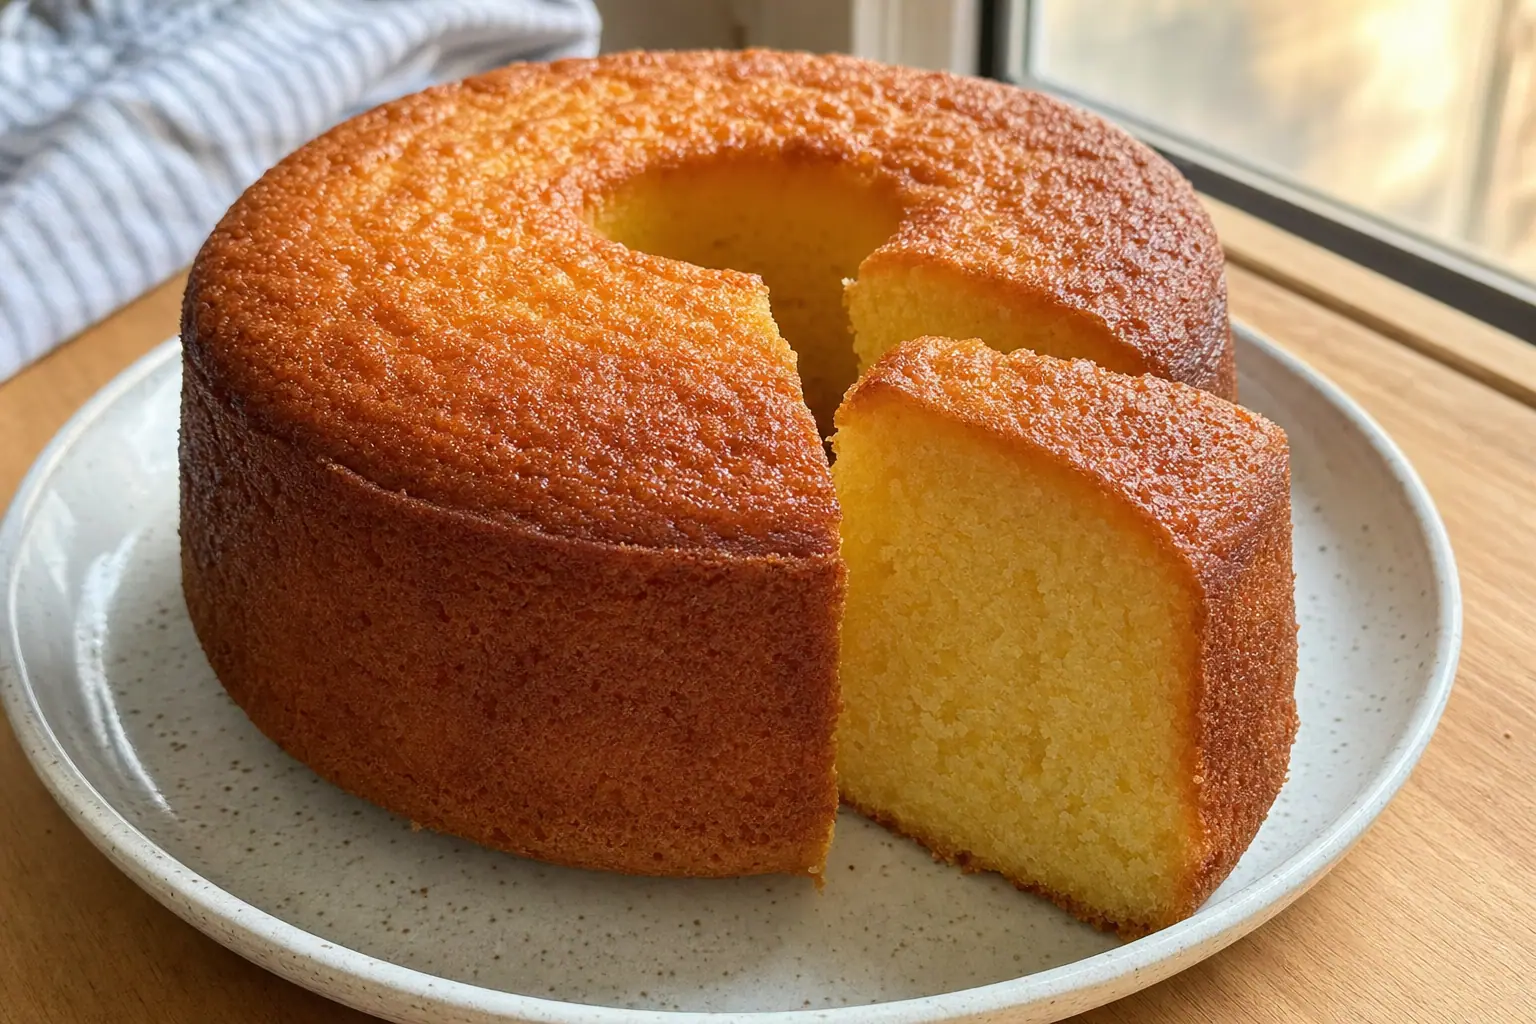
Yellow Cake with Chocolate Frosting
This classic yellow cake is soft, buttery, and simple enough for a birthday, picnic, or Sunday dessert. A creamy cocoa frosting makes it feel festive without making the recipe fussy.
 Desserts
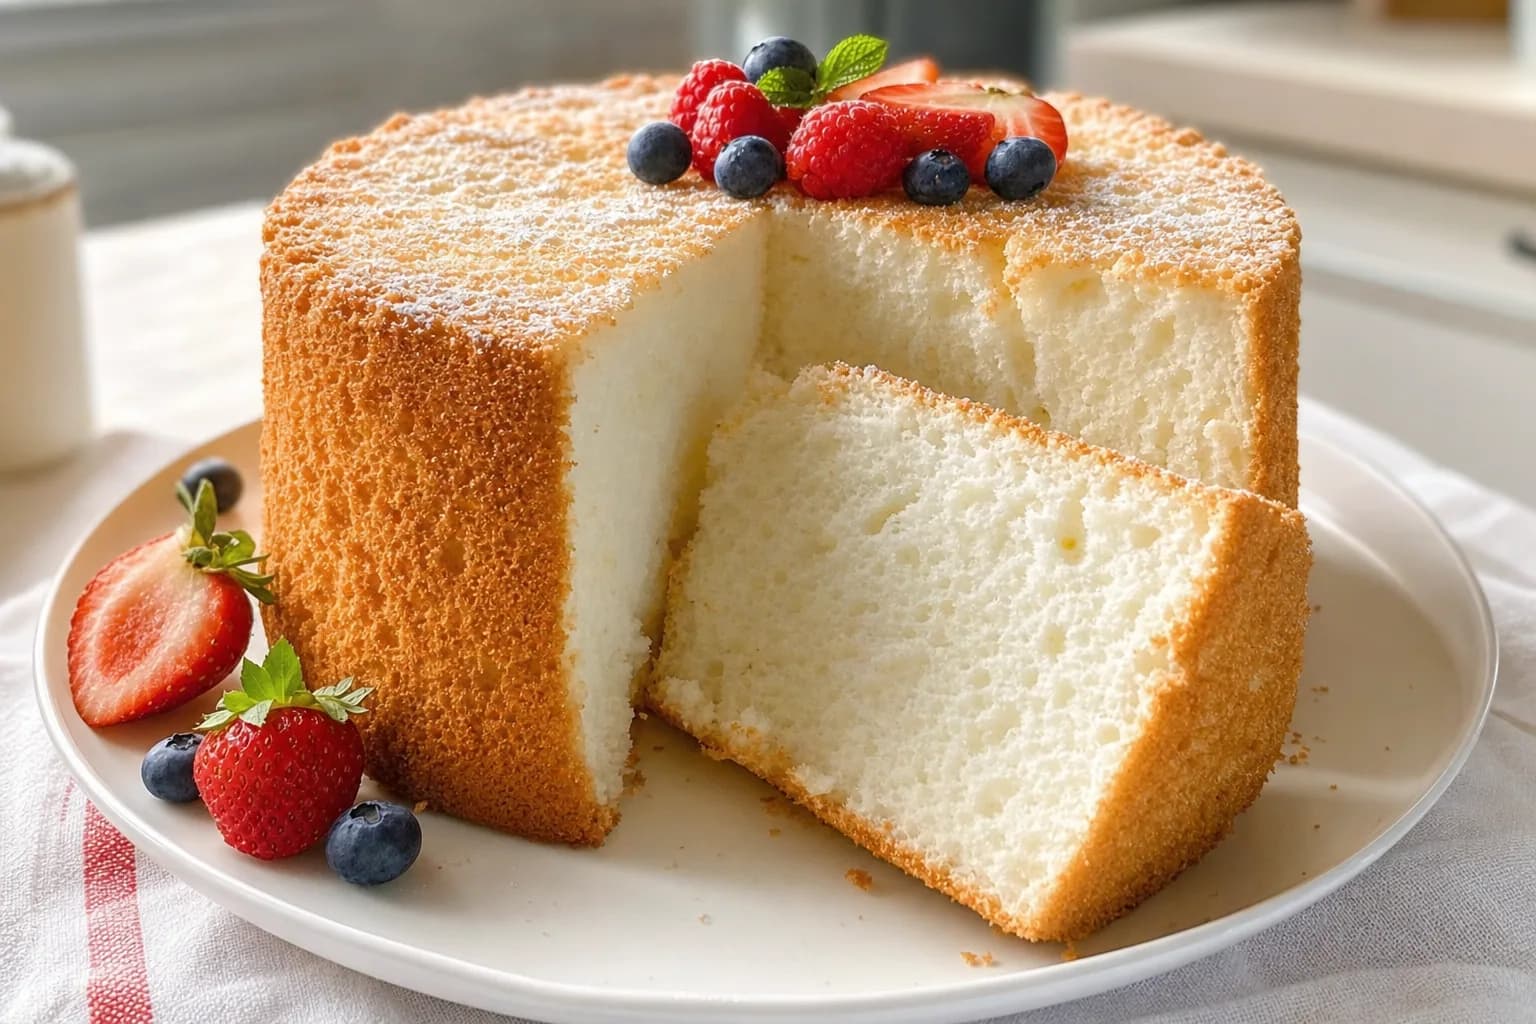
Angel Food Cake
Light, tall, and softly sweet, angel food cake is a classic egg-white cake with a cloudlike crumb. Serve it plain, with berries, or under a spoonful of whipped cream.
 Desserts
Classic Berry Pie
A delightful berry pie that combines fresh berries with a flaky crust for a timeless dessert.