Simple Chicken Brine
This easy chicken brine uses salt, a little sugar, herbs, and cold water to season chicken from the inside out. Use it for a whole chicken, bone-in pieces, or boneless breasts before roasting, grilling, or frying.
Total
15 min
Servings
Makes about 8 cups brine, enough for 1 3
Level
Easy
Brining is a simple way to help chicken stay juicy as it cooks. The salt in the brine seasons the meat and helps it hold on to moisture, which is especially useful for lean cuts like chicken breast.
This recipe is a wet brine, which means the chicken soaks in a seasoned saltwater mixture. You only need a few pantry ingredients, and the flavor can be adjusted with herbs, citrus, garlic, or spices.
The most important rule is temperature: always cool the brine completely before adding chicken, and keep the chicken refrigerated while it brines.
01What you'll need
Ingredients
9 items · Makes about 8 cups brine, enough for 1 3
- 8 cups water, divided
- 1/2 cup Diamond Crystal kosher salt, or 1/4 cup fine table salt
- 1/4 cup granulated sugar or light brown sugar
- 4 garlic cloves, smashed
- 2 bay leaves
- 1 tablespoon black peppercorns
- 4 sprigs fresh thyme or rosemary, or 1 teaspoon dried thyme
- 1 lemon, sliced, optional
- 1 whole chicken, 3 1/2 to 4 pounds, or up to 4 pounds chicken pieces
02How to make it
Step-by-step
1. Heat the brine base
Add 2 cups of the water to a medium saucepan. Stir in the salt and sugar. Warm over medium heat, stirring, until both dissolve. The mixture does not need to boil.
2. Add the aromatics
Remove the pan from the heat. Add the garlic, bay leaves, peppercorns, herbs, and lemon slices, if using. Let them steep for 5 minutes so the flavors start to infuse the brine.
3. Cool the brine
Pour the hot brine base into a large heatproof bowl or pot. Add the remaining 6 cups cold water. Let it cool to room temperature, then refrigerate until fully cold. Do not add raw chicken to warm brine.
4. Submerge the chicken
Place the chicken in a large food-safe container, stockpot, or zip-top bag set inside a bowl. Pour the cold brine over the chicken. Make sure the chicken is covered. If needed, weigh it down with a small plate.
5. Refrigerate for the right time
Brine boneless chicken breasts for 1 to 2 hours, bone-in pieces for 2 to 4 hours, and a whole chicken for 8 to 12 hours. Keep the chicken in the refrigerator the whole time.
6. Remove and discard the brine
Lift the chicken out of the brine and let the liquid drain away. Discard the used brine. It has touched raw chicken and should not be reused.
7. Pat the chicken dry
Pat the chicken very dry with paper towels. This helps the skin brown and crisp. If you have time, place the chicken uncovered on a rack in the refrigerator for 1 to 4 hours before cooking.
8. Cook as planned
Roast, grill, smoke, fry, or pan-cook the chicken according to your recipe. Because the chicken is already seasoned, use less added salt in rubs, marinades, breading, or sauces. Cook chicken to an internal temperature of 165°F in the thickest part.
03From our kitchen
Cook's tips
- Make ahead: The brine can be made up to 3 days ahead. Keep it covered in the refrigerator until ready to use.
- Storage: Store unused brine only if it has not touched raw chicken. Once chicken has been in it, discard the brine right away.
- Salt swap: Kosher salts vary by brand. This recipe uses 1/2 cup Diamond Crystal kosher salt. If using Morton kosher salt, use about 1/3 cup. If using fine table salt, use 1/4 cup.
- Sugar swap: Sugar is not required, but it helps balance the salt and encourages browning. You can leave it out or use honey or maple syrup instead.
- Flavor swaps: Try orange slices, sage, parsley stems, coriander seeds, fennel seeds, chili flakes, or a few slices of fresh ginger.
- Do not overbrine: Too much time in brine can make chicken taste too salty or feel a little spongy. Use shorter times for boneless pieces and longer times for whole birds only as directed.
Cook's note
For crisp skin, drying the chicken after brining matters as much as the brine itself. Pat it dry well, then let it sit uncovered in the refrigerator for a few hours if your schedule allows.
04Frequently asked
Questions & answers
Do I need to rinse chicken after brining?
Usually, no. Rinsing raw chicken can spread bacteria around the sink. Instead, pat it very dry with paper towels. If you accidentally brined it too long and it tastes very salty, a quick rinse can help, but clean the sink area carefully afterward.
Can I brine frozen chicken?
Yes, if the chicken is already safely thawing in the refrigerator and can be fully covered by the brine. Do not brine chicken on the counter. For the most even seasoning, thaw the chicken first, then brine it.
How long should chicken stay in brine?
Boneless breasts need only 1 to 2 hours. Bone-in thighs, drumsticks, or split breasts need 2 to 4 hours. A whole chicken can brine for 8 to 12 hours. Longer is not always better.
Can I use this brine for turkey?
Yes, but you will need to scale it up. Keep the same salt-to-water ratio and make enough brine to fully cover the turkey. Brining time for turkey is usually longer, depending on its size.
Will brined chicken taste salty?
It should taste well seasoned, not salty. Measure the salt carefully, use the correct amount for your type of salt, and do not brine longer than recommended.
05Keep cooking
You might also like
 Dinner
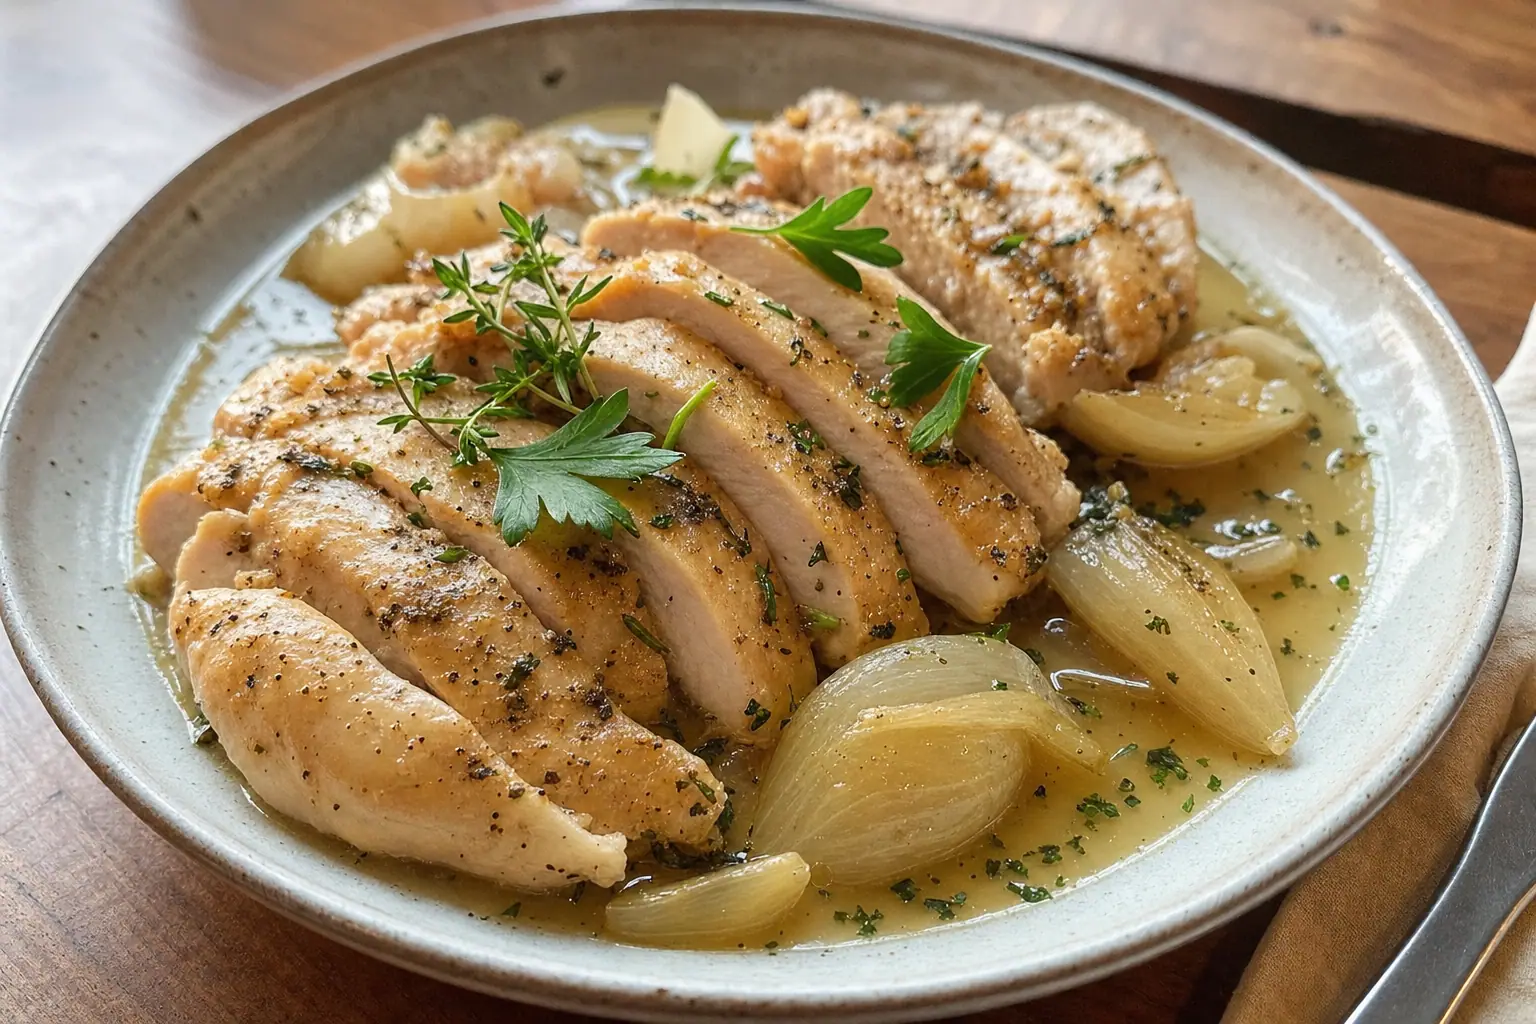
Simple Roasted Chicken
A golden roasted chicken is the kind of dinner that feels special without asking much from you. This version uses lemon, garlic, herbs, and a hot oven for crisp skin and juicy meat.
 Dinner
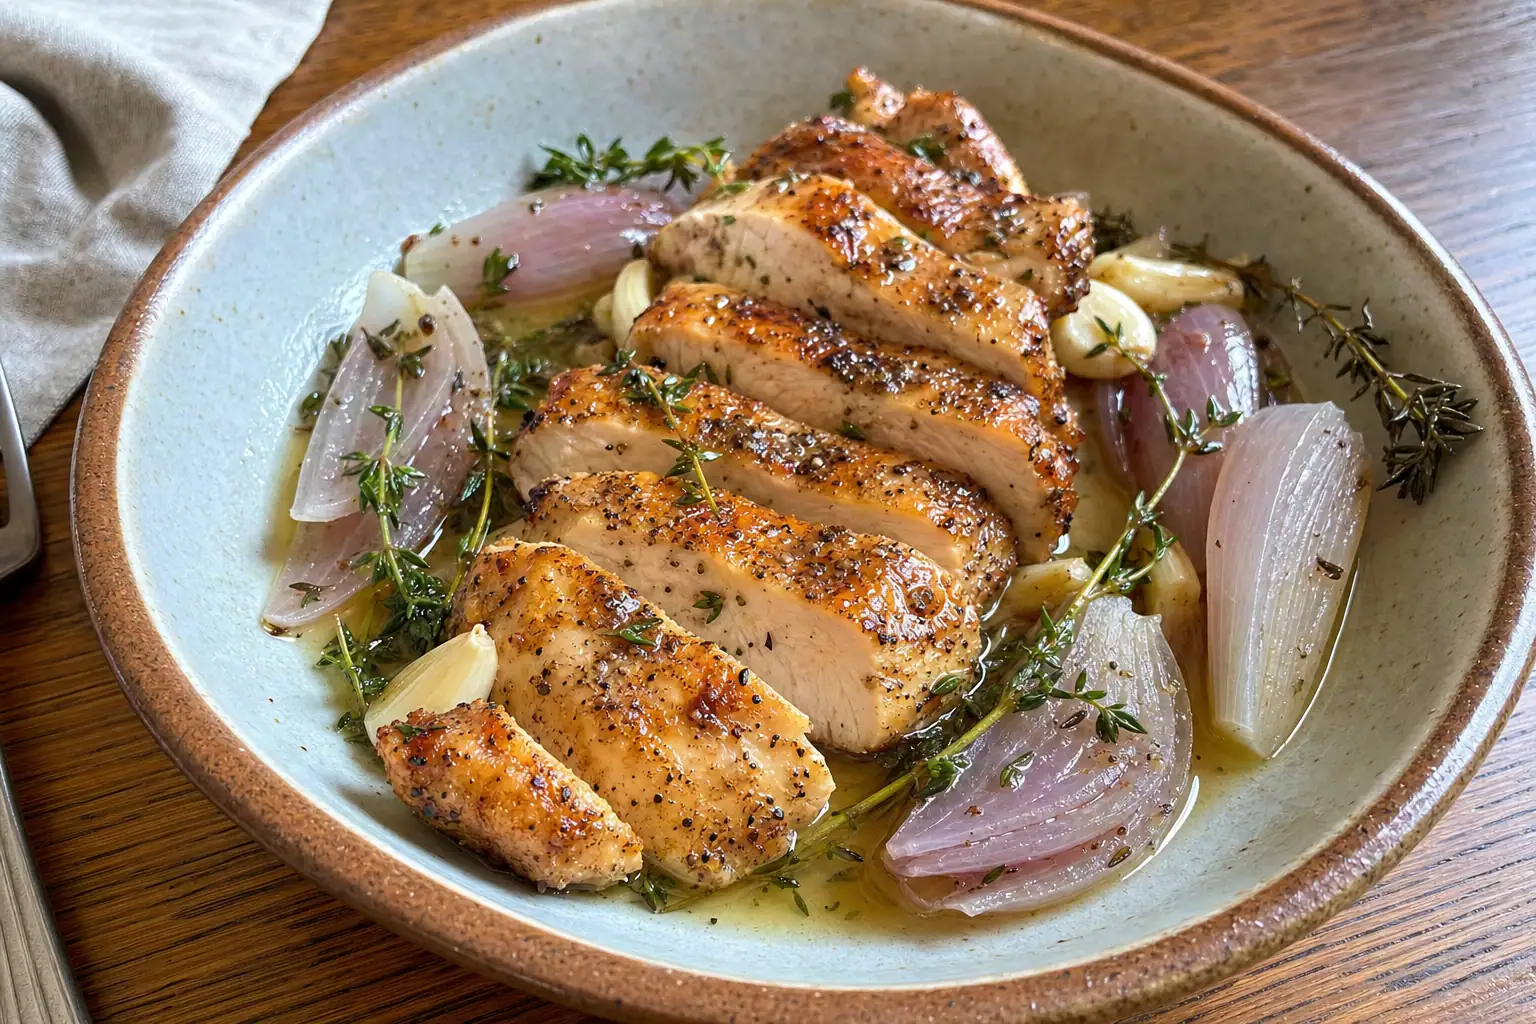
Simple Brined Roast Chicken
A saltwater brine helps chicken stay juicy and well seasoned from the inside out. This easy method works for a whole chicken and gives you crisp skin when you dry it well before roasting.
 Dinner
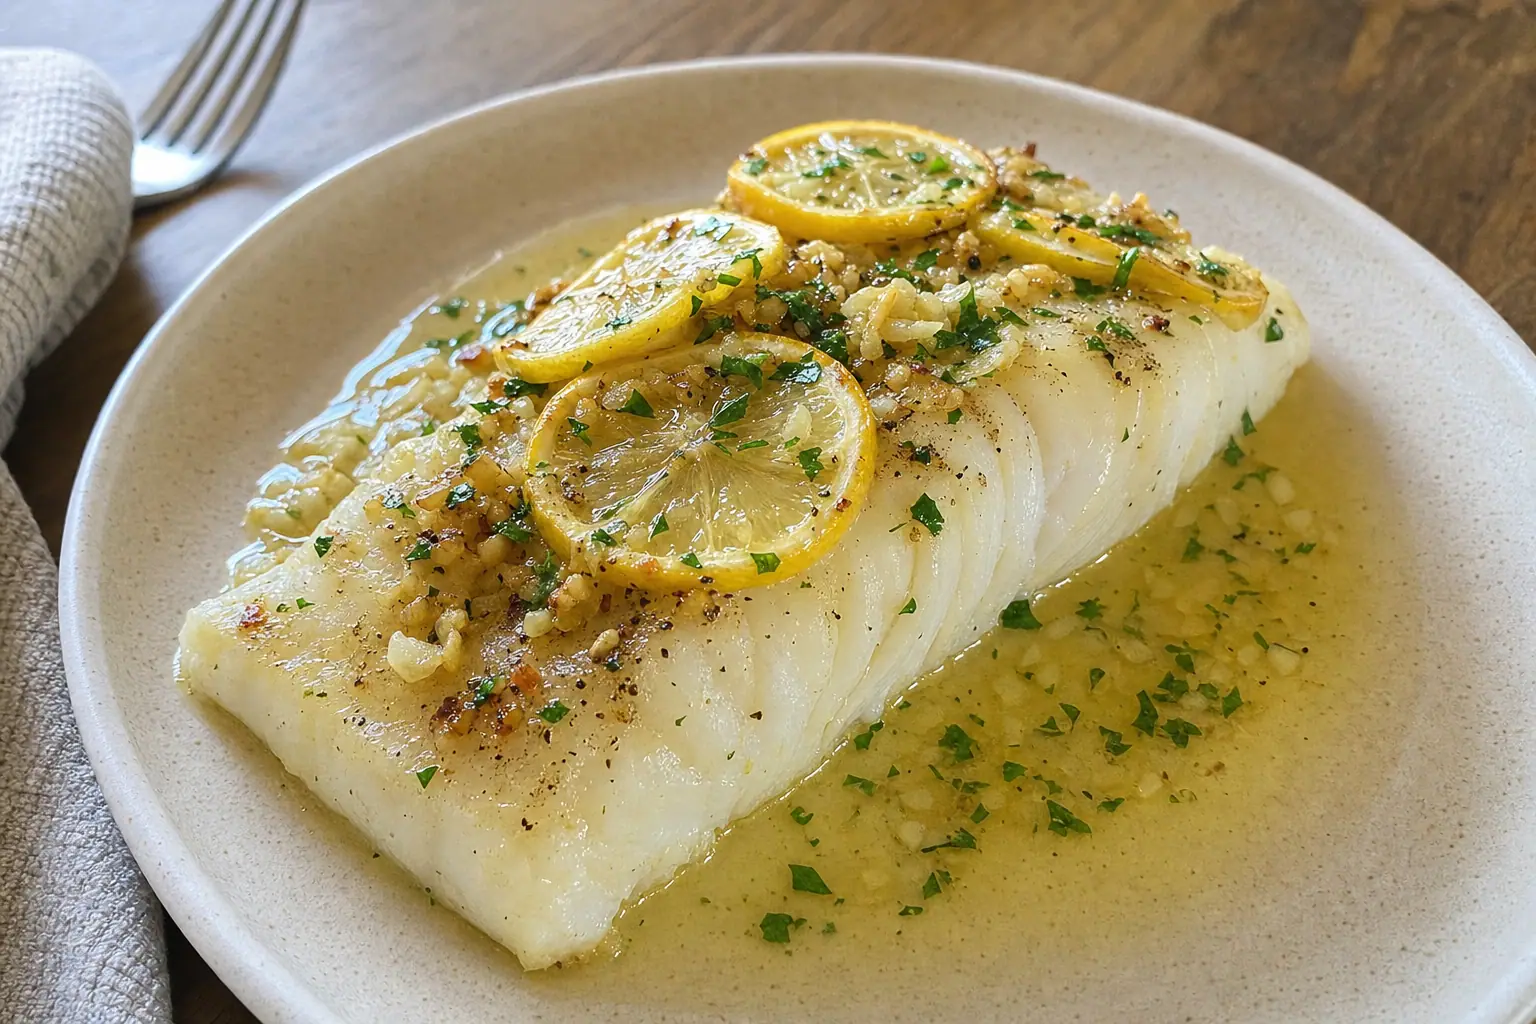
Simple Baked Cod with Lemon and Garlic
This easy baked cod is tender, flaky, and bright with lemon, garlic, and a little butter. It is a quick weeknight dinner that feels fresh without asking much of the cook.
 Dinner
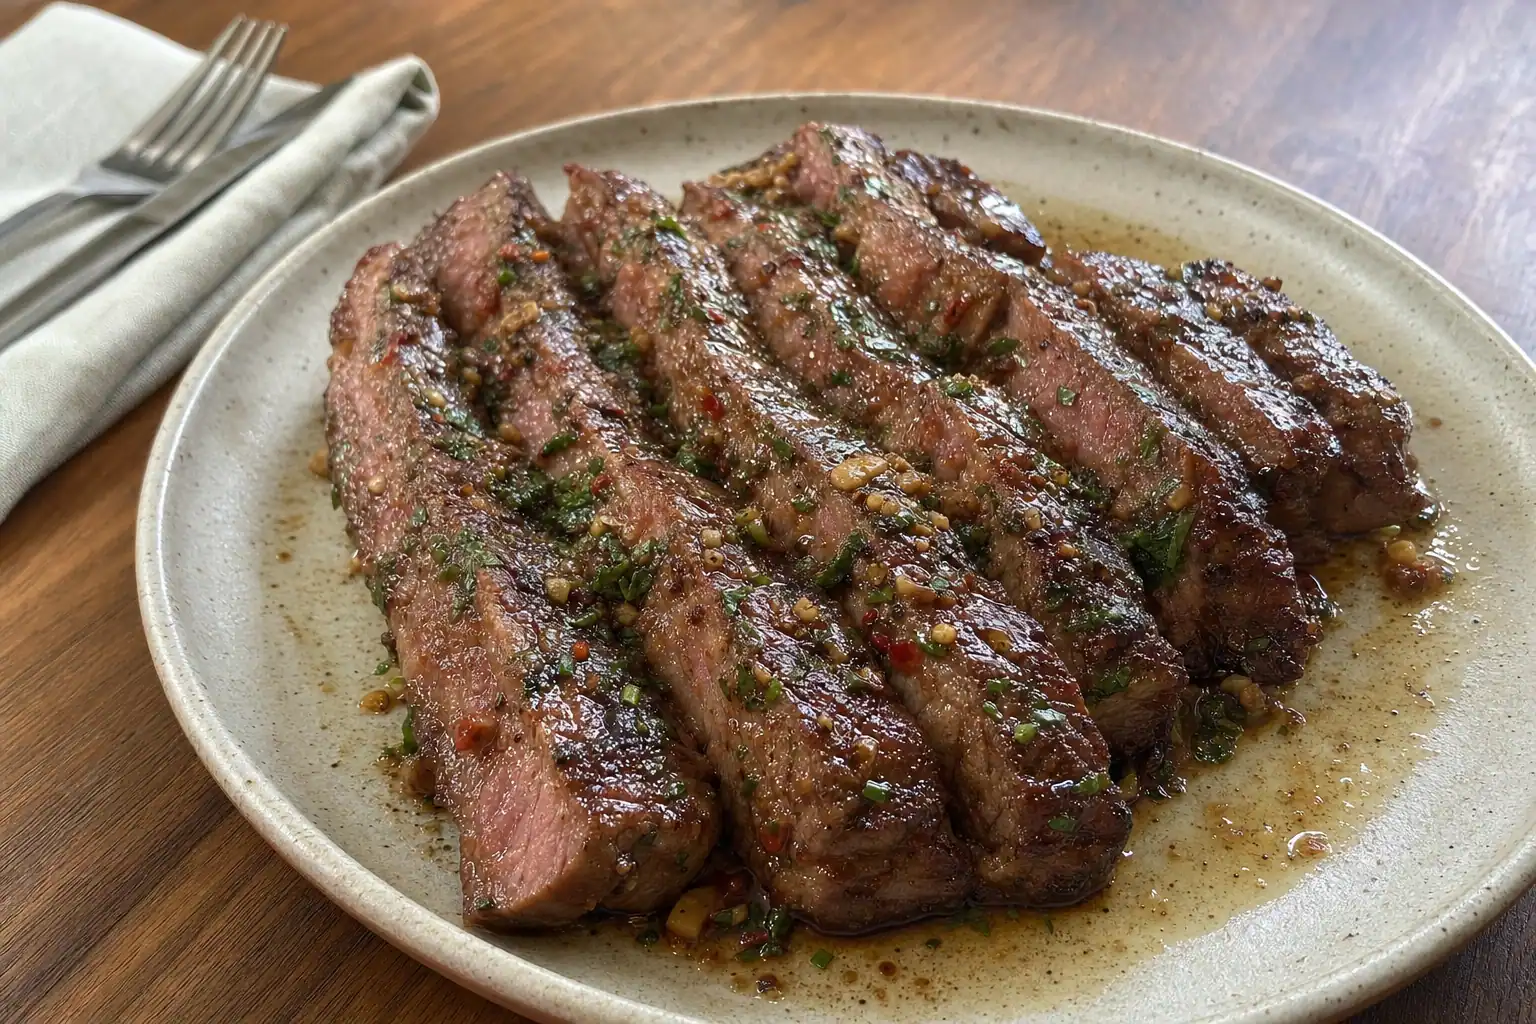
Simple Steak Marinade
This easy steak marinade uses soy sauce, garlic, Worcestershire sauce, and a little lemon to season steak without covering up its flavor. It is quick to whisk together and works for grilling, pan-searing, or broiling.